Your Guide on How to Prepare for Laser Hair Removal
- squidsquib
- Dec 7, 2025
- 11 min read
Proper prep is everything when it comes to laser hair removal. Think of it as setting the stage for the laser to do its absolute best work, ensuring every pulse is safe, effective, and gets you closer to that smooth finish you're after.
Your diligence in the weeks and days leading up to your appointment directly impacts your results.
Your Essential Prep Plan for Laser Hair Removal
Achieving that permanently smooth skin starts long before you ever step into our treatment room. When you follow the pre-treatment guidelines, you’re helping the laser accurately distinguish between the pigment in your skin and the pigment in your hair follicles.
That distinction is critical. It’s what minimizes risks and maximizes the energy delivered straight to the root of the hair, which is what ultimately stops it from growing back.
Why Following Pre-Treatment Rules Matters
Skipping the prep steps can lead to less-than-ideal outcomes, and we want you to have the best experience possible. For instance, showing up with a tan—whether from the sun or a bottle—can confuse the laser and increase the risk of skin irritation or even burns. This is because the laser is designed to hunt for melanin (pigment), and tanned skin has a lot more of it.
The timing of your shave is also more strategic than you might think. Shaving the area about 24 hours beforehand gets the hair off the surface, preventing the laser from just singeing it. This simple step allows the laser’s energy to travel directly down the hair shaft to neutralize the follicle beneath the skin. That’s the entire goal.
Key Takeaway: These "rules" aren't just suggestions—they are crucial safety measures designed to protect your skin and ensure every pulse from the laser is as effective as possible.
No Waxing, No Plucking
This is one of the most important rules in the book. You need to stop any hair removal method that pulls the hair out from the root. This means no waxing, plucking, threading, or epilating for at least four to six weeks before your first session.
The laser needs the hair follicle to be intact and present under the skin to work. The hair acts as a conduit for the laser's energy to reach and destroy the growth cells deep within the follicle. If you’ve recently waxed or plucked, there’s simply nothing for the laser to target.
This is a fundamental difference between these methods, and if you're weighing your options, our guide on laser hair removal vs. waxing can be a huge help. During your treatment series, shaving is the only approved method of hair removal because it leaves the root right where we need it.
For a quick reference, here’s a simple timeline to keep you on track.
Quick Prep Timeline at a Glance
Action Item | Timeline Before Treatment |
|---|---|
Stop Waxing & Plucking | 4-6 weeks before your first session |
Avoid Sun Exposure | 2-4 weeks before each session |
Pause Exfoliants/Retinoids | 5-7 days before each session |
Shave the Treatment Area | 24 hours before each session |
Arrive with Clean Skin | Day of your session |
This checklist makes it easy to remember the key steps. Following this simple plan is the best way to guarantee a safe, comfortable, and highly effective treatment every single time.
Making the Most of Your Consultation and Skin Assessment
Think of your first consultation as the strategic planning session for your entire laser hair removal journey. It's so much more than a quick meet-and-greet. This is where you and a skilled technician collaborate to create a safe, effective plan designed specifically for your skin and hair.
Consider it a fact-finding mission. We'll chat about your medical history, any skin conditions you might have (like eczema or psoriasis), and every single medication you’re currently taking. I know it can feel like a lot of paperwork, but this is a critical safety step.
Be Open About Your Health and Medications
Being completely transparent here is non-negotiable. Certain medications—including common antibiotics, antidepressants, and even some acne treatments like Accutane—can cause photosensitivity. In simple terms, they make your skin highly reactive to light, which significantly increases the risk of a bad reaction from the laser.
It's not just prescriptions, either. Supplements like St. John's Wort can have the same effect. Disclosing everything allows your technician to spot any potential risks and advise you on the best path forward. Sometimes, that might mean pausing a medication for a short time after you've checked in with your doctor.
Your honesty builds the foundation for a safe treatment. Hiding a medication or recent sun exposure can compromise your results and, more importantly, your skin's health.
Why a Patch Test is Essential
During your consultation, we'll perform a patch test. This is a non-negotiable step where the technician tests the laser on a small, discreet patch of skin within the area you want to treat. It does two crucial things:
It’s a safety check. This confirms your skin won’t have an adverse reaction to the laser’s energy.
It’s for calibration. This is how we find the most effective settings for your specific skin tone and hair thickness.
This quick test gives us invaluable data, ensuring the settings used during your full session are perfectly dialed in for maximum impact with minimal risk. It takes the guesswork out of the equation.
Discussing Technology for Your Skin Tone
This is also the perfect time to ask about the technology being used. Modern lasers, like the Splendor X system we use at NYCLASER, are designed to safely treat a much wider spectrum of skin tones than older devices ever could.
This is a huge deal. Efficacy and safety are all about tailoring the approach to individual skin phototypes and hair characteristics, which is a key reason the treatment has become so popular globally. If you're curious about the bigger picture, you can learn more about how market trends reflect these technological advancements from industry reports on laser hair removal.
By the end of your skin assessment, you should feel completely confident in the plan. You’ll understand the process, trust your technician’s expertise, and know that your treatment is customized just for you. This first meeting truly sets the stage for your success.
Your Four-Week Pre-Treatment Countdown
Think of great laser hair removal results as a marathon, not a sprint. Your prep work starts long before you ever set foot in our studio, and following a clear timeline takes all the guesswork out of the process. Getting your skin perfectly primed for the laser is the key to maximizing safety and getting incredible results from your very first session.
The demand for laser hair removal is booming—the global market is expected to hit USD 4.60 billion by 2032, fueled by new tech and sky-high client satisfaction rates. When prep protocols are followed, those rates often top 90%. Ready to join the club? Your journey starts now.
Four To Six Weeks Out: Stop All Root Removal
This is your single most important long-term commitment. For the laser to do its job, the hair follicle has to be intact right under the skin’s surface. That hair acts like a tiny wire, guiding the laser's energy directly to the growth cells we want to target.
If you’re waxing, plucking, threading, or epilating, you're pulling out that essential target. You’ll need to stop all of these methods at least four weeks before your appointment. From here on out, shaving is your one and only approved method of hair removal.
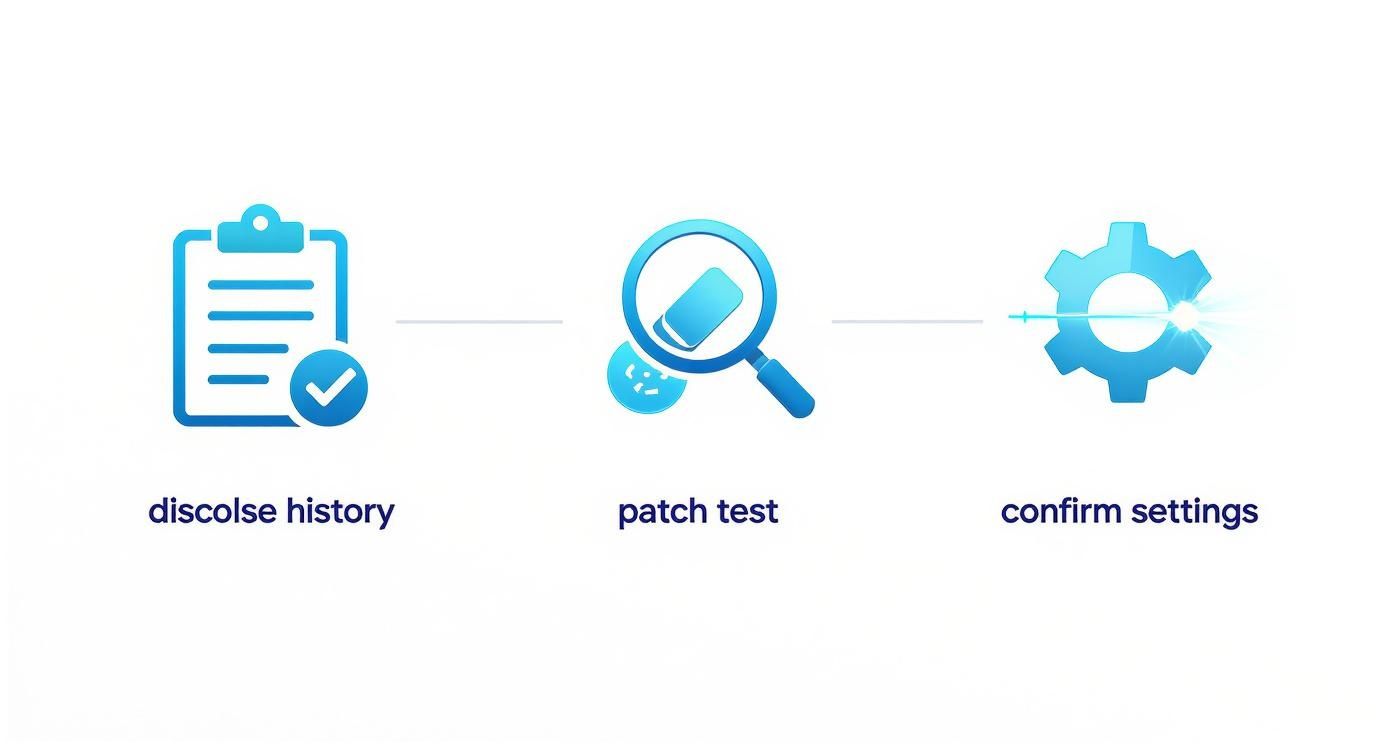
This process really highlights how a successful treatment is built on a foundation of clear communication—from disclosing your history to confirming the right laser settings—before the full procedure even begins.
Two Weeks Out: Adjust Your Skincare
As your appointment gets closer, it’s time to dial back your skincare routine in the treatment area. A lot of the active ingredients we love for glowing skin can actually increase photosensitivity, making your skin more vulnerable to the laser.
About one to two weeks before your session, you'll want to press pause on using:
Retinoids (like Retin-A, tretinoin, or retinol)
Chemical Exfoliants (this includes AHAs like glycolic acid and BHAs like salicylic acid)
Harsh Scrubs or any other aggressive physical exfoliants
Keep it simple. Stick to a gentle cleanser and a basic, hydrating moisturizer. The goal here is to make sure your skin is calm, healthy, and not the least bit sensitized.
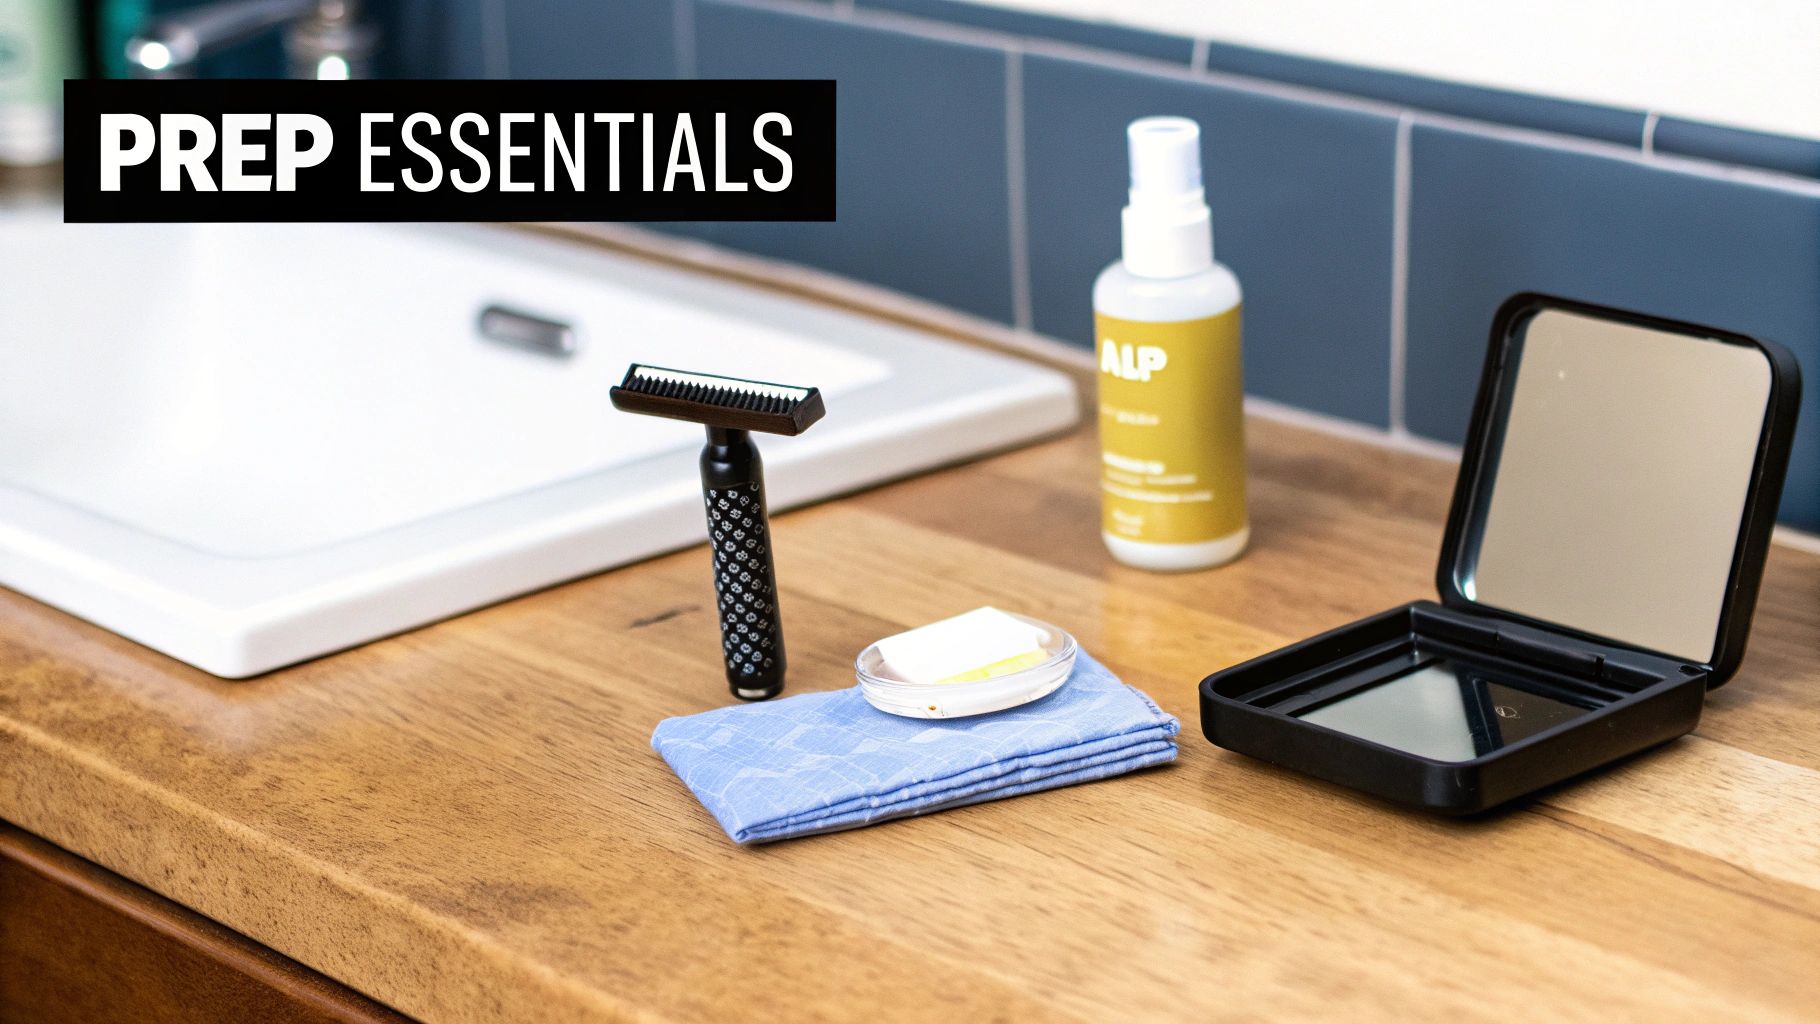
The Final 24 Hours: Clean and Shave
In the day leading up to your appointment, your only job is to create a clean slate for the laser. This is the final and most critical step.
Shave the treatment area roughly 12 to 24 hours before you come in. If you shave too close to your appointment time, you risk minor irritation. But if you don't shave close enough, the laser will singe the surface hair instead of targeting the root, leading to an ineffective treatment and potential skin burns.
Final Check: On the day of your appointment, arrive with completely clean skin. That means no lotions, creams, oils, deodorants, or makeup on the area we'll be treating. Any residue can block the laser's path and compromise your results.
By following this countdown, you’re not just prepping your skin—you’re actively partnering with your technician to get the safest, most effective results possible.
What to Expect on Your Treatment Day
After weeks of careful prep, the day is finally here. Knowing exactly how the appointment will flow can make all the difference, turning any last-minute jitters into genuine excitement. The entire process is designed to be quick, comfortable, and straightforward, getting you in and out with zero fuss.
When you walk in and check in, your technician will greet you and bring you to a private treatment room. They’ll quickly review your chart, check if you have any final questions, and make sure the treatment area is clean and was properly shaved the day before.
Gearing Up for the Laser
Before we get started, your comfort and safety are everything. We'll give you a pair of specialized protective eyewear, which is mandatory to wear for the entire session. This is non-negotiable—it protects your eyes from the laser's concentrated light, so keep them on and secure.
Next, your technician will cleanse the skin to get rid of any oils or lotion residue. They might also apply a cooling gel, depending on the treatment area and your skin’s sensitivity. This gel not only feels great but also helps the laser handpiece glide smoothly across your skin.
The big question we always get is, "Does it hurt?" Honestly, most clients say it feels like a quick, warm snap—like a tiny rubber band flick against the skin. It’s a noticeable sensation, but it’s super quick and generally very tolerable.
Modern laser systems have come a long, long way in managing discomfort. The Splendor X technology we use at NYCLASER, for instance, has a built-in Dual Cooling System. This feature blasts cold air onto your skin at the exact same moment the laser pulses, which massively dials down that snapping feeling and keeps your skin’s surface protected and comfortable.
Want to see how this fits into the bigger picture? Check out our detailed NYC laser hair removal timeline for a full overview.
During and After Your Session
The treatment itself is surprisingly fast. A small area like the upper lip can be done in just a few minutes. A larger area, like the full back, might take closer to an hour. Your technician will work methodically across the area to ensure every follicle gets treated.
Once the laser work is done, they’ll wipe off any leftover gel and apply a soothing aloe vera or a special post-treatment cream to calm things down. It's totally normal to see some mild redness or even a little bit of swelling around the hair follicles. In fact, that's a good sign—it means the treatment worked! This usually fades within a few hours.
Here’s a pro tip for appointment day: wear loose, comfortable clothing. Tight jeans or scratchy fabrics can rub against the freshly treated skin and cause irritation you just don’t need. Think soft cotton joggers or a flowy dress. Your skin will thank you for it.
And just like that, you’re all done and ready to go, one step closer to that permanently smooth skin you're after.
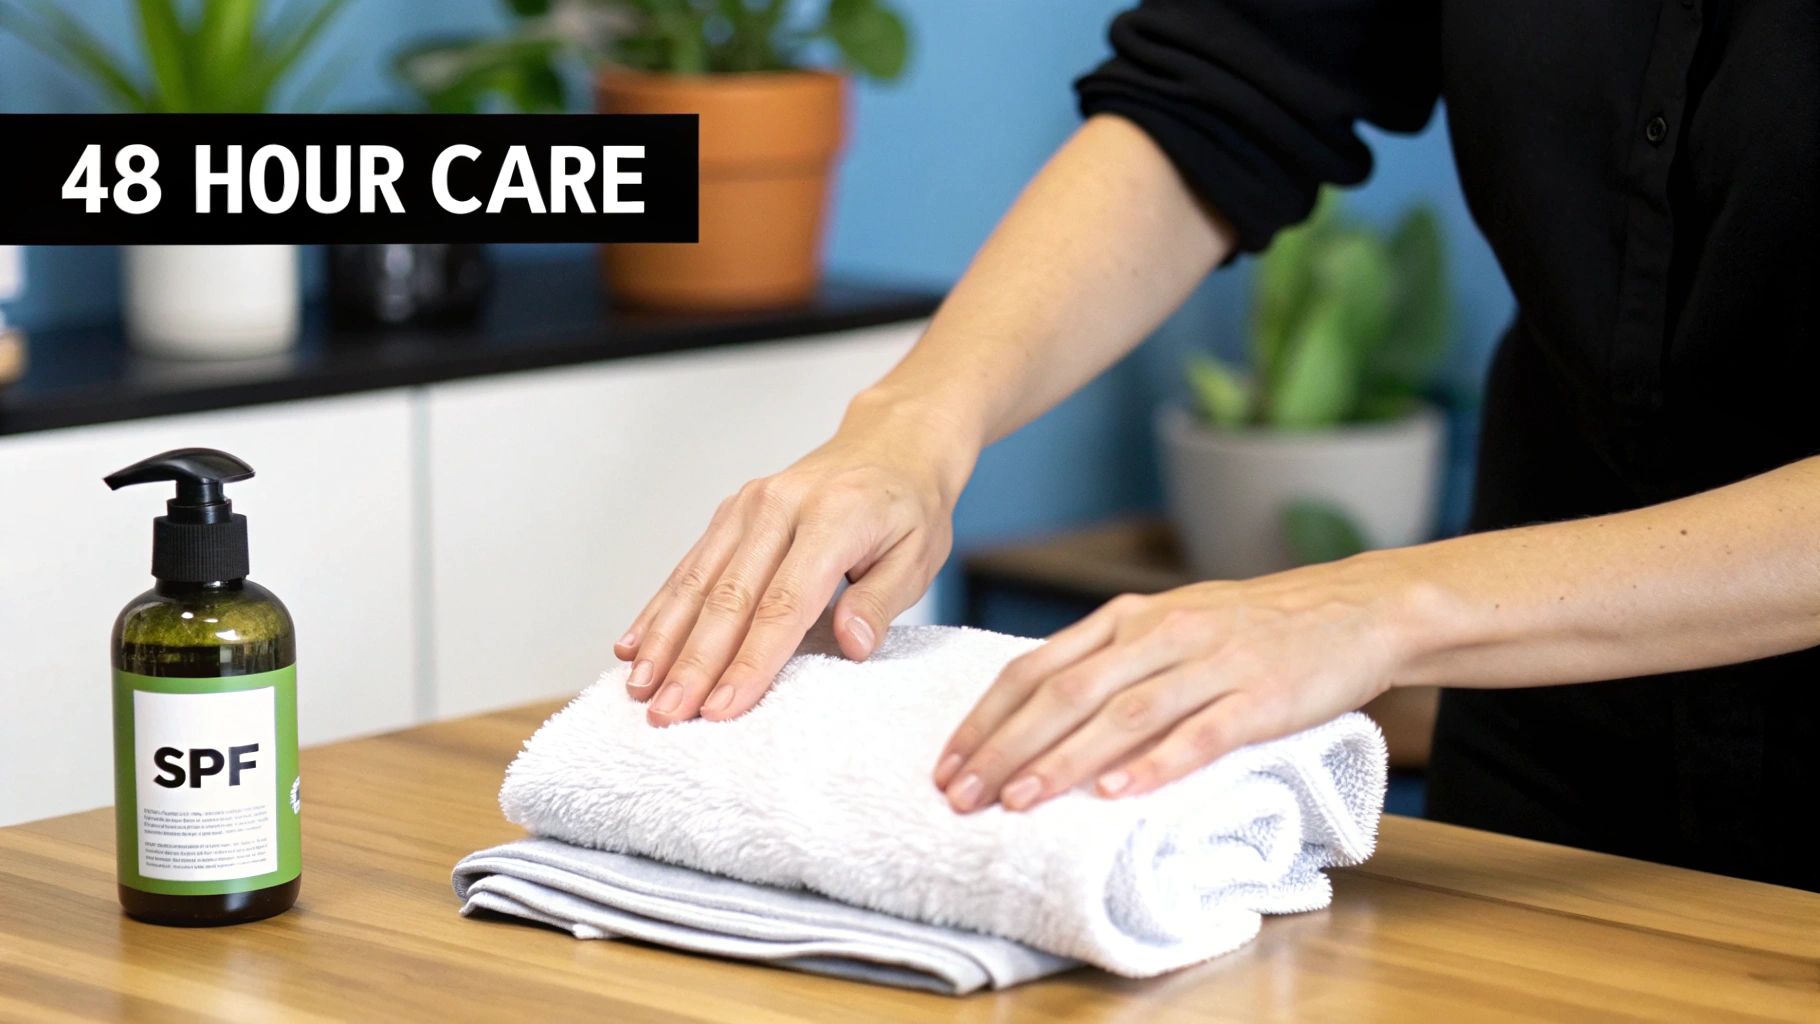
Post-Treatment Care for the First 48 Hours
Congratulations, you've completed your session! But your journey doesn’t end when you leave the clinic—the next 48 hours are just as critical for achieving that flawless, smooth finish. Think of this period as a dedicated recovery phase for your skin.
Your skin has just been through a workout. It’s totally normal to see some mild redness, feel a bit of warmth, or notice slight swelling around the treated follicles. This is actually a great sign called perifollicular edema, and it means the laser effectively zapped the hair follicle.
Soothe and Protect Your Skin
Right now, your main goal is to keep the treated area cool, calm, and protected. Your skin is going to be sensitive, so treat it with the same care you would a mild sunburn. The first rule? Avoid anything that introduces extra heat.
For the next 48 hours, you should steer clear of:
Hot Showers and Baths: Stick to lukewarm water and be super gentle when cleansing the area. No scrubbing.
Saunas, Steam Rooms, and Hot Tubs: These environments can trap heat and seriously ramp up irritation.
Strenuous Exercise: Anything that makes you sweat heavily can introduce bacteria to those sensitive follicles. A brisk walk is fine, but skip the HIIT class for a couple of days.
Expert Tip: Keep a pure aloe vera gel in the refrigerator. Applying it cool to the treated area provides instant relief from any warmth and helps calm redness down much faster.
This simple routine will minimize discomfort and set your skin up for a smooth, irritation-free recovery.
Sun Protection is Non-Negotiable
If you remember only one thing, make it this. Your skin is exceptionally vulnerable to UV damage after a laser session, and even a little sun exposure can easily lead to hyperpigmentation or other complications.
For at least two weeks following your treatment, you have to be diligent about sun protection. Apply a broad-spectrum sunscreen with SPF 30 or higher to the treated area every single day—yes, even if it's cloudy. If you’ve had treatment on your legs or arms, wearing loose, protective clothing is another smart move.
It's also essential to let the hair-shedding process happen naturally. Over the next week or two, you’ll start to see the treated hairs fall out. This is exactly what you want! Do not pluck, wax, or tweeze these hairs. If you feel the need to tidy up between sessions, shaving is the only approved method. This keeps the follicle intact and ready for your next appointment.
Common Questions About Laser Hair Removal Prep
Even the most detailed timeline can leave you with a few lingering questions. Getting all the answers is part of feeling confident and ready for your first session. Let’s walk through some of the most common things we hear from clients as they get ready to start their journey.
What Happens If I Forget to Shave?
It happens, but it’s definitely something to avoid. If you forget to shave, we’ll likely have to do it for you here at the clinic, which might mean an extra fee. But more importantly, shaving right before your session can create tiny micro-abrasions that make your skin more sensitive and the laser treatment more uncomfortable than it needs to be.
The laser is designed to find the pigment in the follicle below the skin's surface. When there's hair above the skin, it can absorb that laser energy instead. This not only makes the treatment way less effective but also increases the risk of superficial burns. For the best, safest results, aim to shave a good 12-24 hours before your appointment.
Can I Still Get Treatment with a Tan?
This one is a non-negotiable "no," and it's entirely for your safety. Tanned skin—whether from the sun, a tanning bed, or even a self-tanner—is full of active melanin. The laser has a tough time distinguishing between the melanin in your tan and the melanin in your hair follicle.
When the laser can't tell the difference, the risk of burns, blisters, or pigmentation issues goes way up. You absolutely must stay out of the sun and avoid all tanning products for at least four weeks before your appointment. This gets your skin back to its natural, baseline color, which is critical for a safe and effective treatment.
Key Takeaway: Any kind of tan, real or fake, is a dealbreaker for laser hair removal. If you’ve had recent sun exposure, postponing your appointment is always the smartest and safest call.
Should I Adjust My Skincare Routine?
Yes, this is a big one. For about one to two weeks before your session, you'll need to hit pause on any skincare products that could make your skin more sensitive. Think of it as creating a calm, clean canvas for the laser to do its job.
The main ingredients to shelve in the treatment area are:
Retinoids (like Retin-A, tretinoin, and retinol)
Alpha-hydroxy acids (AHAs), including glycolic and lactic acid
Beta-hydroxy acids (BHAs), like salicylic acid
Any harsh physical scrubs or chemical peels
Switch to a simple, gentle cleanser and a basic moisturizer. Keeping your skin barrier happy and hydrated is the best prep you can do. And if you’re wondering how all this prep pays off in the long run, you can learn more about what to expect from your laser hair removal results in our detailed guide.
At NYCLASER, our goal is to make your path to smooth skin as straightforward and comfortable as possible. If you have more questions or you’re ready to get started, book your consultation with us today. Find your perfect treatment package and schedule your visit at nyclaser.com.
Comments